
Making your own accessories can be an attractive way to express your unique style and personality. One trend that has caught the eye of many fashion enthusiasts is the velvet braided headband, reminiscent of medieval royalty but with a modern twist.
These stylish headpieces can often come with a hefty price tag, creating one yourself is a rewarding and cost-effective alternative.
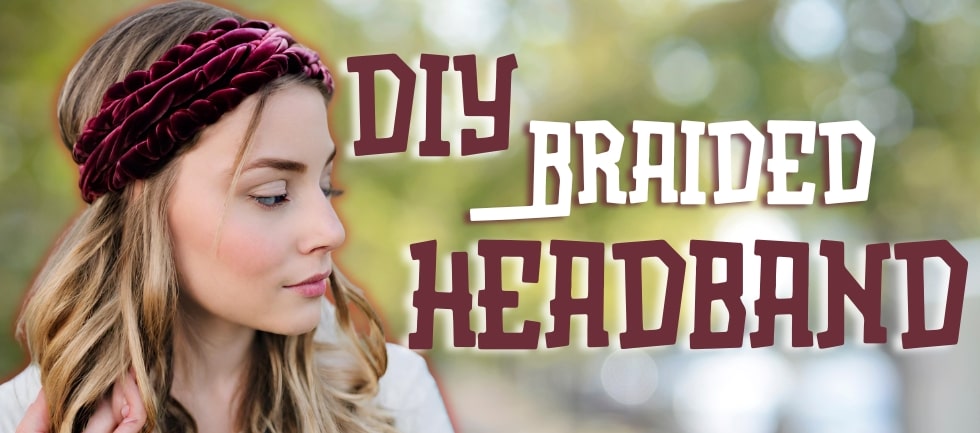
This DIY tutorial will guide you through making your own braided velvet headband which lets you feel like a princess without breaking the bank.
Finding Inspiration and Materials
The idea of crafting a velvet braided headband sparked when I noticed several fashion bloggers showcasing similar accessories.
The rich, plush look of velvet combined with a classic braid shows beauty and charm. However, the cost of designer versions can be prohibitively expensive, leading me to devise a DIY solution that’s both affordable and chic.
For this project, you will need the following materials:
- 1 spool of grosgrain ribbon
- 1/2 yard of stretch velvet fabric (choose a color that complements your wardrobe)
- 1 plastic headband (1 – 1.5 inches wide)
- Hot glue gun
- Sewing machine or needle and thread (depending on your preference for stitching)
Choosing the right color of velvet can significantly affect the overall look of your headband. I opted for a rich purple that goes well with darker hair, but feel free to select any color that suits your taste or seasonal trends.
If you want to buy stretch velvet fabric at competitive rates? Visit our velvet fabric collection page to get your favorite piece.
Braiding Your Way to a Luxurious Velvet Headband: A Step-by-Step Guide
Before beginning the crafting process, it's crucial to gather all your materials and prepare your workspace. Ensure your hot glue gun is heated and ready to use, and that your sewing supplies or machine are on hand.
Step 1: Ribbon Wrapping
Start by securing one end of the grosgrain ribbon to the underside of the plastic headband with a small amount of hot glue. Carefully wrap the ribbon around the entire headband, ensuring that each wrap closely aligns with the previous one to avoid any gaps. This step not only conceals the plastic but also provides a cohesive look and additional grip for the velvet braid.
Step 2: Cutting and Preparing the Velvet
Using sharp fabric scissors, cut the velvet into three strips, each measuring 20 inches long and 4 inches wide. Fold each strip in half lengthwise, with the right side facing out, to create narrower strips. This technique gives the braid more structure and makes it easier to handle.
Step 3: Braiding the Velvet
Align the three folded strips on top of each other and pin one end to keep them in place. Braid the strips tightly until you reach the desired length that matches the length of your headband. Secure the ends with pins, then sew across to hold everything neatly together. Sewing provides durability, though you can use glue if preferred.
Step 4: Attaching the Braid
Apply hot glue along the top of your ribbon-wrapped headband and carefully press the velvet braid onto it. Ensure the braid is centered and straight, adjusting as necessary before the glue sets.
Step 5: Finishing Touches
Once the braid is attached, use additional grosgrain ribbon to wrap around the ends of the braid where it meets the headband. This method covers any raw edges and gives your headband a polished look. Secure the ribbon with glue.
Inspect your headband for any loose ends or visible glue. Make any necessary adjustments to ensure your headband is comfortable and the exterior is flawless.
Wearing Your Velvet Crown
Congratulations!
You've just created a beautiful, handcrafted velvet braided headband. This fashion piece is perfect for adding a touch of elegance to any outfit. The versatility of the headband allows you to experiment with different hairstyles and looks, truly making it a crown you can call your own.
Crafting your own accessories not only saves money but also allows you to create custom pieces that perfectly match your style and wardrobe needs. So next time you're inspired by a trend, consider making it yourself. It’s a fulfilling way to enhance your creative skills and expand your fashion repertoire.